Your cart is currently empty!

How to install suspension in under 3 hours – Lexus and Toyota
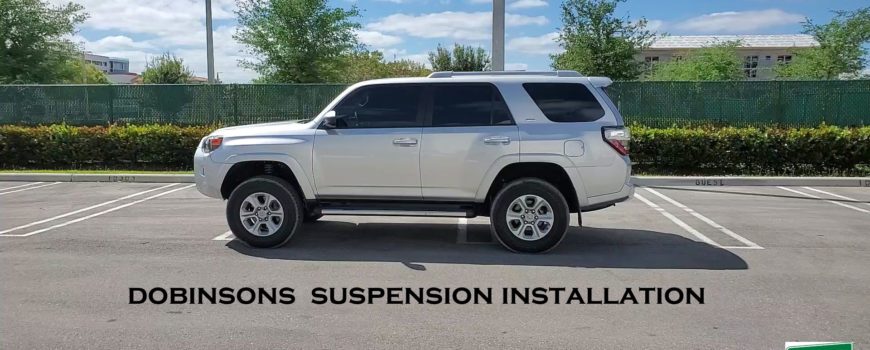
Hey everyone, thanks for reading. Just recently I helped a friend install his new Dobinsons suspension onto his newly acquired 2018 Toyota 4Runner SR5 2×4 model. He wanted to pick up the front end a bit to help level out the vehicle and also to add a better spring rate to the rear, allowing him to support the full vehicle better. His 4Runner has a 3rd row seat that is regularly used to take the full load of 7 people in the SUV.
Before I lose you, this same installation applies to these vehicles:
4th Gen Toyota 4Runner 2003 to 2009
5th Gen Toyota 4Runner 2010 to 2020+
Lexus GX470 2003 to 2009
Lexus GX460 2010 to 2020+
Toyota Prado 120
Toyota Prado 150
Toyota FJ Cruiser (all years)
Now I’ve worked on many different Toyota’s and 4×4’s over the years, and this is a method of installation that goes back to my old Suzuki 4×4 days with Sidekicks, Trackers, Vitara’s and Grand Vitara’s. The absolute easiest method to install the front struts is to swing the lower control arm down and out of the way to easily remove the strut assembly without having to disconnect hardly anything. 2 lower ball joint bolts per side, loosen the lower control arm bolts at the cams, per side, and then undo the strut top 3 nuts and the main lower bolt. This leaves the UCA’s untouched, the sway bar links in place set to factory torque, the brake and ABS lines in place, and all the steering links also untouched. When possible, it is most definitely better to remove the least amount of bolts necessary, because if you put something back together wrong or not tight enough, you can run into other issues later.
In this video I try to describe as clearly as possible what steps it takes to change out the full suspension (front strut assemblies, rear coils and rear shocks) in under 3 hours. Granted there were 3 of us on site, me being the one who knows the steps and guiding the other 2 while being the cameraman, you need to know that the 2 guys doing the majority of the work have never worked on a Toyota or a 4×4 like this before. Plus we ran into a couple of hiccups by not realizing we had to take down the front skid plate at first (the last 2 I worked on already had those removed) and in the rear I forgot to disconnect the sway bar, as the last 2 I worked on had KDSS with a different sway bar system that was already undone and out of the way). Those slight delays probably added maybe 20 minutes, so we would have been done in 2.5 hours from start to finish, with water breaks, a few chats, and taking our time with hand tools. You’re still wondering how this is possible? We ordered the front struts, coils and new top mounts fully pre-assembled. A professional with the correct strut spring compressor can do that job in a matter of minutes, but to do it at home is very time consuming, dangerous, and really not worth the effort when you can just pay to have it done before the parts are shipped to you, and bolt them in like my video shows.
So please check out this video and be sure to hit like on it. So many people these days are doing their own installation at home and so many people get bad advice to disconnect all sorts of things that really aren’t needed, so hopefully if you see someone that needs help, you can share this video and help guide them for a simpler method.
